How To Season A Mortar And Pestle Step-By-Step
How to season a mortar and pestle is a crucial step to make sure it lasts long and works well. Seasoning helps remove rough spots and impurities, giving the surface a smoother grinding surface.
The mortar and pestle is an enduring tool for grinding spices, herbs, and other ingredients. Seasoning your mortar and pestle is essential to remove debris and increase performance. This process ensures no unwanted particles affect your food, providing a cleaner, more efficient grinding experience.
In this guide, I’ll show you simple steps on how to season a mortar and pestle, making it better for enhancing the flavor of your ingredients. Whether you are an experienced chef or a home cook, these simple tips will help you get the most out of your kitchen equipment.
Why Is Seasoning Important?
Mastering the step-by-step process of seasoning a mortar and pestle is essential for any kitchen enthusiast. Seasoning is essential to ensure your mortar and pestle are ready. This process also helps maintain the longevity and efficiency of your tool. Seasoning removes unwanted particles and oils that may be present in new mortar and grout. Let’s dive deeper into why spices are essential.
What Is Seasoning?
Seasoning is the process of preparing your mortar and pestle for optimal use. It includes cleaning and conditioning the surface to eliminate any leftover residue.
Here’s a step-by-step breakdown:
- Cleaning: Clean the mop using your new mortar and water. Avoid soap, which leaves residue.
- Drying: Allow mortar and grout to dry completely. It prevents moisture-related problems.
- Grinding: Use white rice to grind in a mortar. This helps remove any loose particles.
- Rinsing: Rinse the mortar and pestle again with water to remove the rice powder.
- Final touch: Repeat the grinding process with garlic or herbs to add a protective layer.
Seasoning forms a non-stick layer, simplifying the grinding of ingredients. This preparation step ensures that your food remains free from contaminants.
Benefits Of Seasoning
Seasoning your mortar and pestle offers many benefits:
- Enhanced Flavor: Seasoning helps develop a richer flavor in your ingredients. The paved surface allows for better grinding and mixing.
- Durability: Proper seasoning increases the longevity of your mortar and pestles. It resists cracking and wear over time.
- Improved efficiency: A seasoned mortar and pestle is more effective at grinding. Its smooth surface texture helps in the grinding process.
- Hygiene: Removing factory residue ensures your food is safe. It also prevents contaminants from affecting the taste and quality of your ingredients.
These benefits make the seasoning process essential to any new mortar and pestle. A seasoned tool enhances your cooking experience and ensures safety and efficiency.
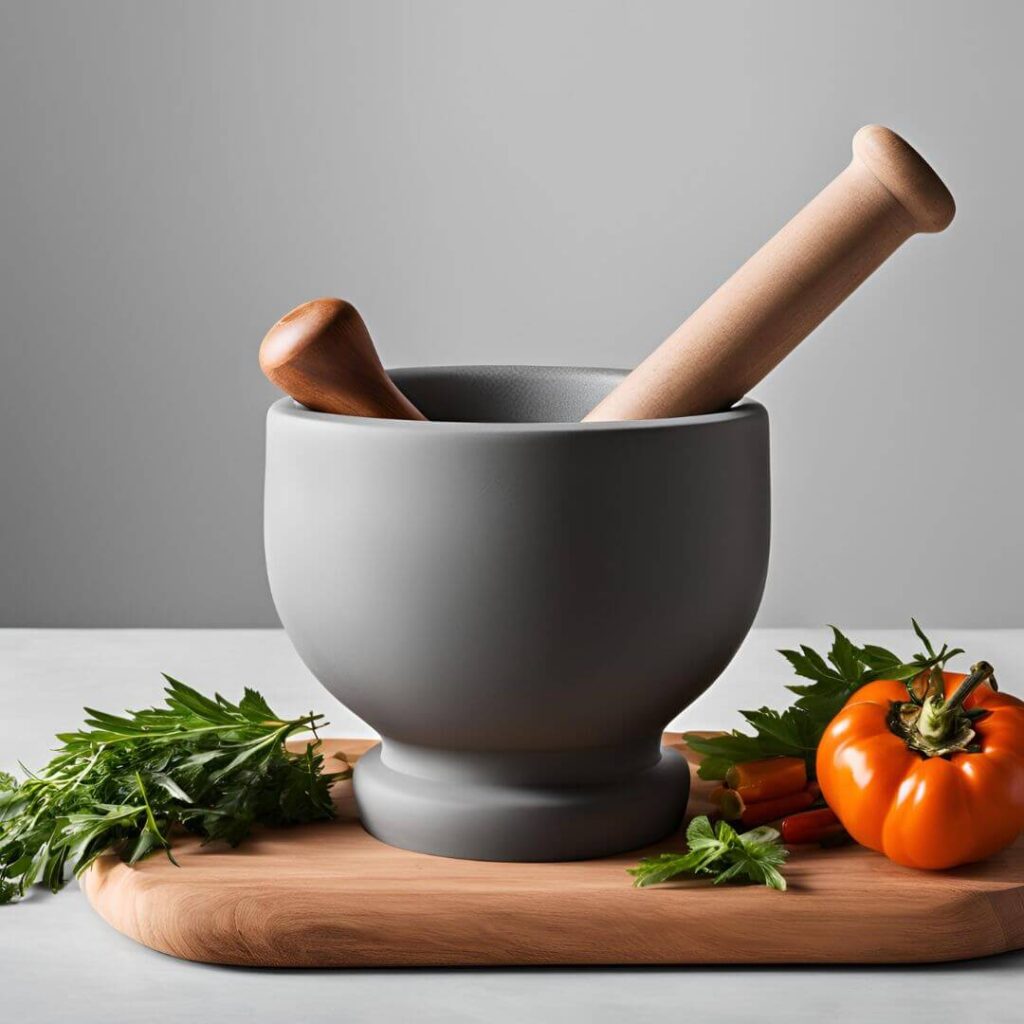
Choosing The Right Mortar And Pestle:
Mortar and pestle seasoning ensures that it works optimally and lasts longer. Selecting the proper mortar and pestle is crucial for adequate seasoning. This guide will assist you in selecting the ideal one for your kitchen.
- Selecting The Material:
The material of your mortar and pestle impacts both its performance and longevity. Each element has unique properties:
- Granite: Heavy and sturdy, ideal for hard materials.
- Marble: Smooth and elegant, great for soft materials.
- Ceramic: non-porous, easy to clean, but less durable.
- Wood: Light and calm, best for dry material.
Granite and marble mortars are suitable for crushing and grinding. Ceramic mortar is good for mixing paste. The wooden mortar is excellent for grinding spices.
| Material | Best For | Pros | Cons |
| Granite | Tough ingredients | Durable, heavy | Can be porous |
| Marble | Soft ingredients | Smooth, elegant | Can chip easily |
| Ceramic | Mixing pastes | Non-porous, easy-to-clean | Less durable |
| Wood | Dry ingredients | Light, quiet | Less suitable for wet ingredients |
Choose an ingredient according to your cooking needs. Granite is best for multi-purpose use. Marble adds a touch of elegance. Ceramic offers easy maintenance. Wood provides a rustic feel.
- Choosing The Right Size:
The size of your mortar and pestle affects its capacity and ease of use. Consider these factors:
- Small (4-6 inches): Ideal for grinding small amounts of spices.
- Medium (6-8 inches): Versatile, suitable for various tasks.
- Large (8-10 inches): Suitable for making pastes and large batches.
Small mortars are great for individual servings. Medium mortars balance size and versatility. Larger mortars handle larger jobs easily.
| Size | Best For | Pros | Cons |
| Small (4-6 inches) | Spices | Compact, easy to store | Limited capacity |
| Medium (6-8 inches) | Versatile tasks | Good balance, multi-purpose | It may not suit all tasks |
| Large (8-10 inches) | Large batches | High capacity, versatile | Bulky, requires more space |
Select a size that fits your cooking needs. Small mortars are easy to store. Medium mortars offer versatility. Big mortars handle big jobs.
Cleaning The Mortar And Pestle:
Learning how to season a mortar and pestle step by step is crucial to maintaining efficiency and longevity. A well-seasoned mortar and pestle can significantly impact your cooking experience. The first step in this process is cleaning the mortar and pestle.
Proper cleaning prevents unwanted particles that can affect taste and texture. Let’s explore the cleaning process in two main steps: initial cleaning and removing residue.
- Initial Cleaning:
Before using your new mortar and pestle, do a preliminary cleaning. This step is necessary to remove any dust or debris accumulated during manufacturing or shipping. Follow these simple steps to make sure your mortar and pestles are ready for seasoning:
- Begin by rinsing the mortar and pestle with hot water. Avoid using soap at this stage.
- Carefully clean the surfaces using a soft brush or cloth. This will help remove any loose particles.
- Wash out again with warm water to wash away any remaining debris.
- Dry with a clean towel. Ensure the mortar and pestle are fully dry before continuing.
Initial cleaning is essential to prepare your mortar and pestle for the next step. A clean surface ensures that the seasoning process is effective and that your ingredients are not contaminated. Always be gentle to avoid damaging the stone or ceramic material.
- Removing Any Residues:
After the initial cleaning, the next step is to remove any residue. These residues can be microscopic particles or residues from manufacturing processes. Follow these steps to ensure your mortar and pestle are residue-free:
- Fill the mortar with a handful of white rice. Uncooked rice works best for this step.
- Use masala to grind the rice into a fine powder. This process helps to remove the remaining residue from the surface.
- When the rice powder turns gray, discard it. This indicates that it has picked up residue.
- Clean the mortar and pestle with hot water to remove any rice particles.
- Dry thoroughly with a clean towel.
Residue removal ensures that no unwanted particles interfere with your ingredients. Clean and residue-free surfaces are essential for optimal performance. This step helps prevent off-flavors in your culinary creations.
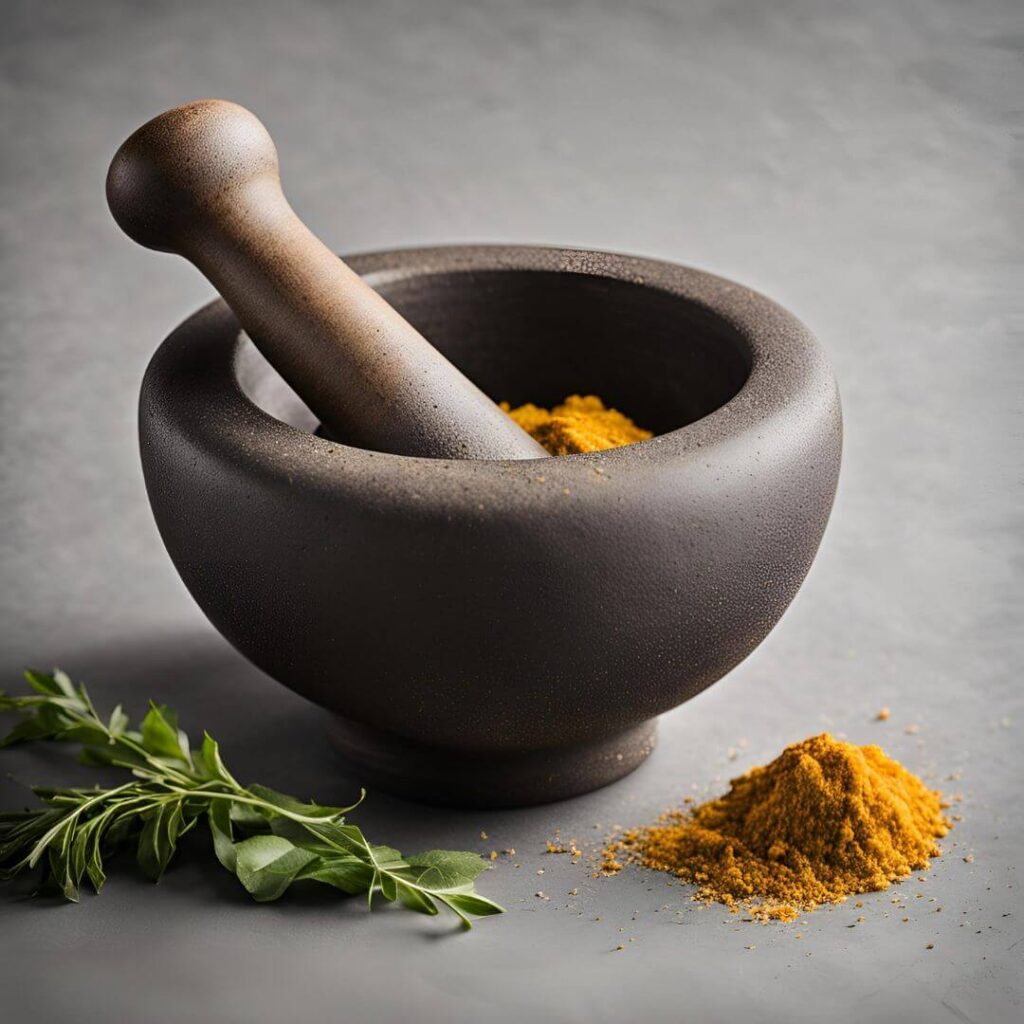
Preparing The Ingredients:
Mortar-and-pestle seasoning is crucial to increasing its effectiveness and longevity. Getting the ingredients ready is a vital step in this process. This ensures your mortar and pestle are prepared, debris-free, and infused with essential oils. Adhere to these steps to keep your equipment in top condition.
- Choosing The Materials:
Choosing the right ingredients is the first step. Each ingredient contributes a distinct function to the seasoning process. Here are some commonly used ingredients:
- Rice grains: They help remove debris and smooth the surface.
- Garlic: Enhances flavor and adds natural oils.
- Cumin seeds: Adds aroma and helps in the seasoning process.
- Salt: Serves as an abrasive for cleaning surfaces.
Make sure the ingredients are fresh and of high quality. This will make a noticeable difference in the seasoning process. These ingredients are available at most local grocery stores or markets.
Refer to the table below for a quick guide on ingredients:
| Ingredient | Purpose |
| Rice grains | Remove debris, smooth surface |
| Garlic | Enhance flavor, add oils |
| Cumin seeds | Add the aroma, aid seasoning |
| Salt | Clean surface, abrasive |
- Preparing The Ingredients:
Once you’ve selected your ingredients, it’s time to prepare for the seasoning process. Follow these steps to ensure each ingredient is ready:
- Rice grains: Measure about one cup of rice. Clean them well and make sure they are fully dry.
- Garlic: Peel and grind 3-4 cloves of garlic. It produces natural oil.
- Cumin: Measure one tablespoon of cumin. Lightly toast in a pan to bring out their aroma.
- Salt: Measure two tablespoons of coarse salt. It will act as an abrasive to clean the surface.
Prepare each ingredient in the proper quantity and form. This ensures that they work effectively during the seasoning process. Preparing the ingredients correctly is essential to achieving the best results. It will also improve the performance and longevity of your mortar and pestle.
The Seasoning Process Of A Morter And Pestle:
Seasoning your mortar and pestle is essential to ensure it lasts and works well. Seasoning helps remove debris, dust, or small stone particles and makes the surface smoother and less porous. This guide will take you how to season a mortar and pestle step-by-step through the seasoning process for your new mortar and pestle.
Step 1: Grinding Rice
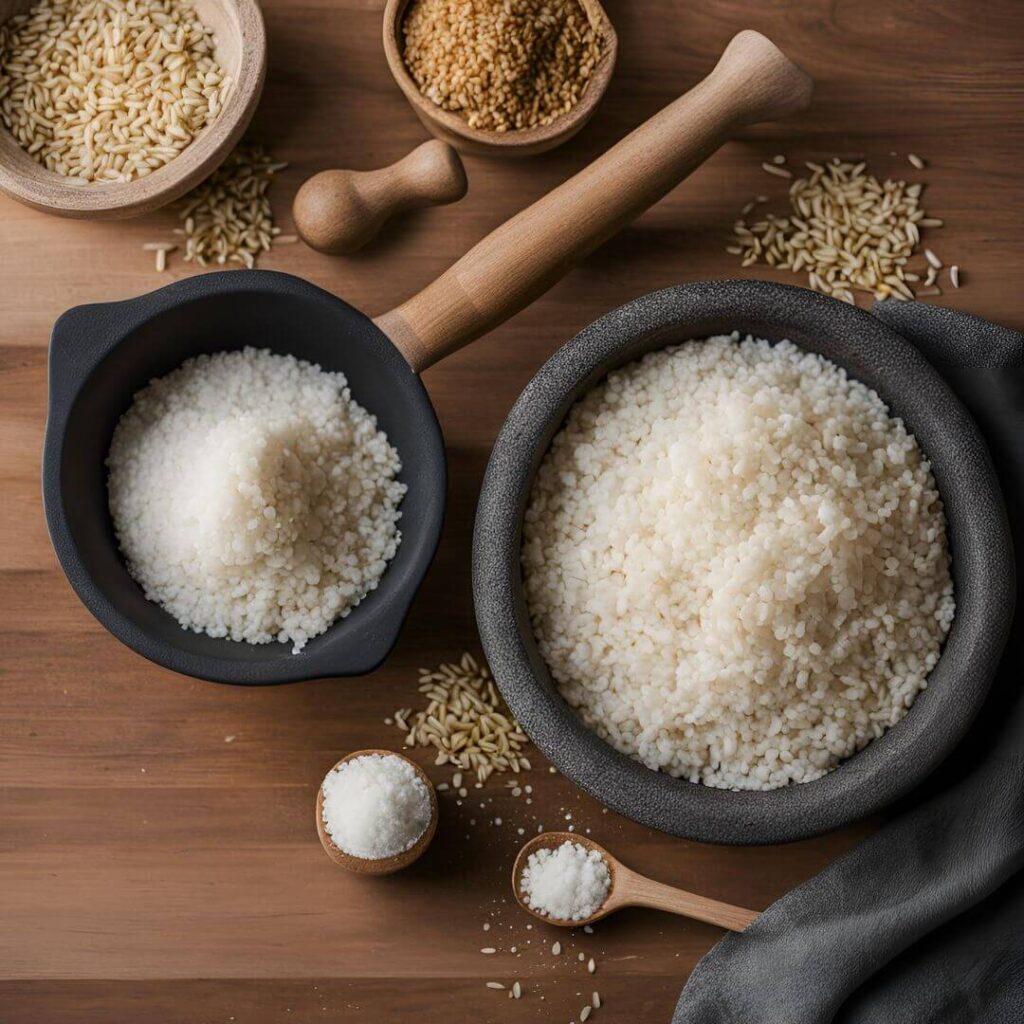
The first step in seasoning your mortar and pestle is to grind rice. It helps remove debris and dust left over from the rice production process. Follow these steps:
- Take a handful of raw white rice.
- Place the rice in the mortar.
- Use masala to grind the rice into a fine powder.
Make sure you grind the rice well. The rice flour will likely turn gray, indicating it picks up debris. This step is essential to cleaning mortar and pestle effectively.
| Material | Purpose |
| Uncooked White Rice | Removes debris and dust |
Once you have ground the rice into a fine powder, discard it. Then, rinse the mortar and pestle with warm (not too hot) water and let them air dry.
Step 2: Repeating The Process

Repeat to clean your mortar and pestle thoroughly. Repeat the rice grinding process several times to ensure all debris is removed.
- Place another handful of rice into the mortar.
- Grind it into a fine powder using masala.
- Discard the powder and wash it with warm water.
Repeat this process at least three times. The rice flour should become less gray each time, indicating that the mortar and pestle are getting cleaner.
Repeating the grinding process ensures that all impurities are removed. This step is critical to preparing your mortar and pestle for the final mortar.
Step 3: Final Seasoning

The final step in the seasoning process involves grinding a mixture of salt, pepper, and garlic. It helps to smooth the surface and add a protective layer.
- Put a tablespoon of coarse sea salt into the mortar.
- Add a few cloves of garlic.
- Add a teaspoon of black pepper.
Grind this mixture into a smooth paste with the masala. Salt acts as an astringent, while garlic and pepper add flavor and smooth the surface.
Once it becomes a fine paste, discard it. Clean the mortar and pestle with hot water, then let them air dry.
This final seasoning step ensures that your mortar and pestle are ready. The surface will be smooth, and any remaining debris will be removed.
Maintaining Your Seasoned Mortar And Pestle:
Ensures good performance and longevity of your mortar and pestles. Once ripened, it is essential to maintain it properly. This section covers the steps needed to keep your mortar and pestle in place.
- Proper Cleaning Techniques:
Proper cleaning of your mortar and statue is crucial in preserving its condition. Follow these steps for optimal cleaning:
- Avoid using soap: Soap residue can alter the taste of your ingredients. Instead, use warm water.
- Rinse thoroughly: After each use, rinse the mortar and pestle with hot water to remove all food particles.
- Scrub gently: Use a stiff brush to scrub surfaces. Avoid abrasive materials that can damage the stone.
- Dry completely: After rinsing with a clean towel, dry the mortar and pestle completely to prevent mold and bacteria growth.
For a deeper clean, consider the following:
| Cleaning Method | Steps |
| Salt and Rice Paste | Mix salt and uncooked rice with water to create a paste.Grind the paste in the mortar and pestle.Rinse with warm water and dry thoroughly. |
| Lemon Juice | Cut a lemon in half and squeeze the juice into the mortar.Scrub the surfaces with the lemon half.Rinse with warm water and dry thoroughly. |
- Storing The Mortar And Pestle:
Proper storage is essential to keeping your mortar and pestle in top condition. Follow these tips for adequate storage:
- Keep dry: Always store mortar and pestle dry. Moisture can cause mold and damage.
- Eliminate direct sunlight. Prolonged sunlight can cause discoloration or weaken the stone. Store it in a shaded area.
- Use a cloth cover: Cover the mortar and pestle with a clean cloth to shield it from dust and debris.
- Store separately: Keep mortar and pestle separate from other kitchen tools. It prevents accidental damage.
For added protection, consider the following storage solutions:
| Storage Solution | Benefits |
| Wooden Shelf | Provides a stable and dry environment.Keeps the mortar and pestle easily accessible. |
| Dedicated Cabinet Space | Protects from dust and kitchen fumes.Make sure to store the mortar and pestle separately. |
Following these steps ensures that your paving mortar and pestle will stay in excellent condition for years.
Tips And Tricks To Season A Morter And Pestle:
A mortar and pestle ensures a long life and good performance. Here are some tips and tricks to make this process simple and effective.
- Using Coarse Salt For Stubborn Stains:
Coarse salt is excellent for removing stubborn stains from your mortar and pestle. It serves as a natural abrasive, aiding in the removal of residue. Follow these steps to use coarse salt effectively:
- Place a handful of coarse salt into the mortar.
- Grind salt with masala in a circular motion.
- Pay extra attention to the stained area.
- After scrubbing, wash off with warm water.
Repeat the process if the stain persists. Coarse salt can also help remove any lingering tastes or odors. This ensures that your subsequent use will not be affected by previous components.
Here’s a quick table summarizing the steps:
| Step | Action |
| 1 | Add a handful of coarse salt. |
| 2 | Grind with the pestle in circular motions. |
| 3 | Focus on stained areas. |
| 4 | Rinse with warm water. |
- Avoiding Acidic Ingredients:
Avoid using acidic ingredients in your mortar and pestle. Lemon juice and vinegar, being acidic, can harm the surface and cause wear and tear over time.
Here are some tips to avoid damage:
- Use a separate mortar and pestle for acidic materials.
- Wash off immediately if you accidentally use acidic ingredients.
- Dry thoroughly after washing to prevent damage.
- Brush a thin layer of mineral oil onto the surface to protect it.
It’s easier to prevent damage than to fix it. Follow these tips to ensure your mortar and pestle are in excellent condition.
Summarized steps in a table format:
| Step | Action |
| 1 | Use a separate mortar and pestle for acidic ingredients. |
| 2 | Rinse immediately if used by mistake. |
| 3 | Dry thoroughly after washing. |
| 4 | Apply a light coat of mineral oil. |
Related Questions:
What Spices Do You Use In A Mortar And Pestle?
You can grind many spices in a mortar and pestle to enhance your food. Typical spices are black pepper, cumin, coriander, cloves, and mustard seeds. To release their flavors, you can also add fresh herbs like basil, rosemary, and thyme.
Mortars and pestles make spice mixes like garam masala, curry powder, and pesto, which are fresher and more aromatic.
Why Do You Season A Mortar And Pestle With Garlic?
Seasoning a mortar and pestle with garlic helps eliminate residual dust and bad smell. The oils in the garlic soak into the surface, making it smooth to grind.
This process cleans the mortar and pestle and prepares it for use. This ensures that the ingredients you grind will taste better.
Conclusion:
A mortar and pestle ensures good taste and longevity. Follow these steps to learn how to season a mortar and pestle to improve your kitchen equipment. A well-seasoned mortar and pestle can make a significant difference in your cooking. Take the time to season it properly and enjoy the enhanced flavor of your food.