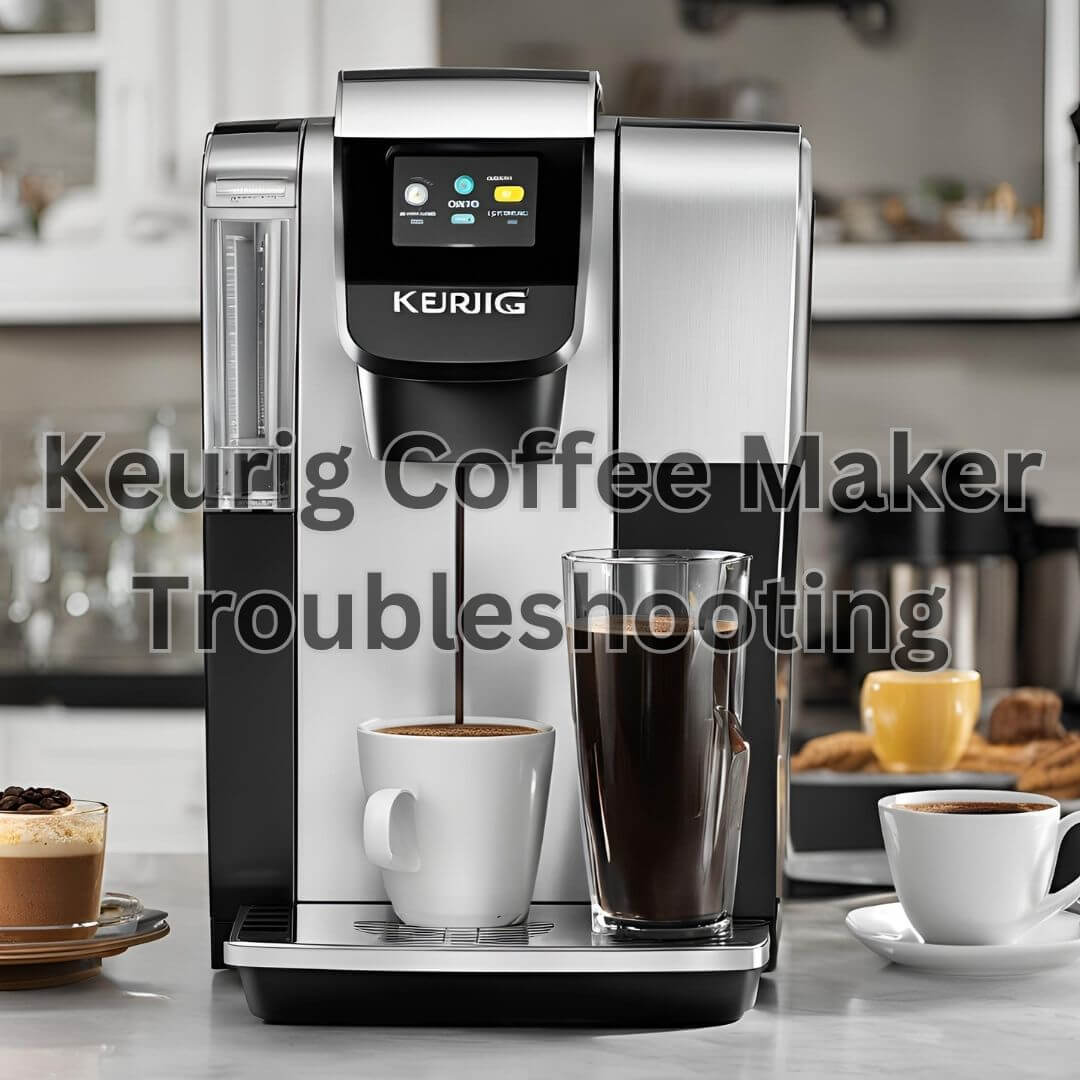
Keurig Coffee Maker Troubleshooting: 10 Easy Tips

If you are having problems with your Keurig, others are having them. From brewing problems to leaks, some common issues can occur. This Keurig coffee maker troubleshooting guide will help you find and fix these problems quickly so you can get back to enjoying your coffee.
Keurig Coffee Maker Troubleshooting provides simple, step-by-step solutions to a variety of problems, making it easy for anyone to use. It solves a variety of issues, from fundamental problems to more complex issues, such as descaling and fixing error codes. That way, you can find and fix problems faster, helping your Keurig last longer and your coffee taste better.
In this article, you will learn how to fix your Keurig, as well as top troubleshooting tips for every problem. So read the article and learn easy steps to get rid of this issue.
What Is Troubleshooting?
Troubleshooting is a way of solving problems, usually used to fix broken machines or systems. It involves a careful and step-by-step investigation to find the cause of the problem so it can be fixed and the machine or system can work properly again. Troubleshooting helps identify signs that something is wrong.
10 Essential Keurig Troubleshooting Tips and the Most Common Issues with Keurig Coffee Makers:
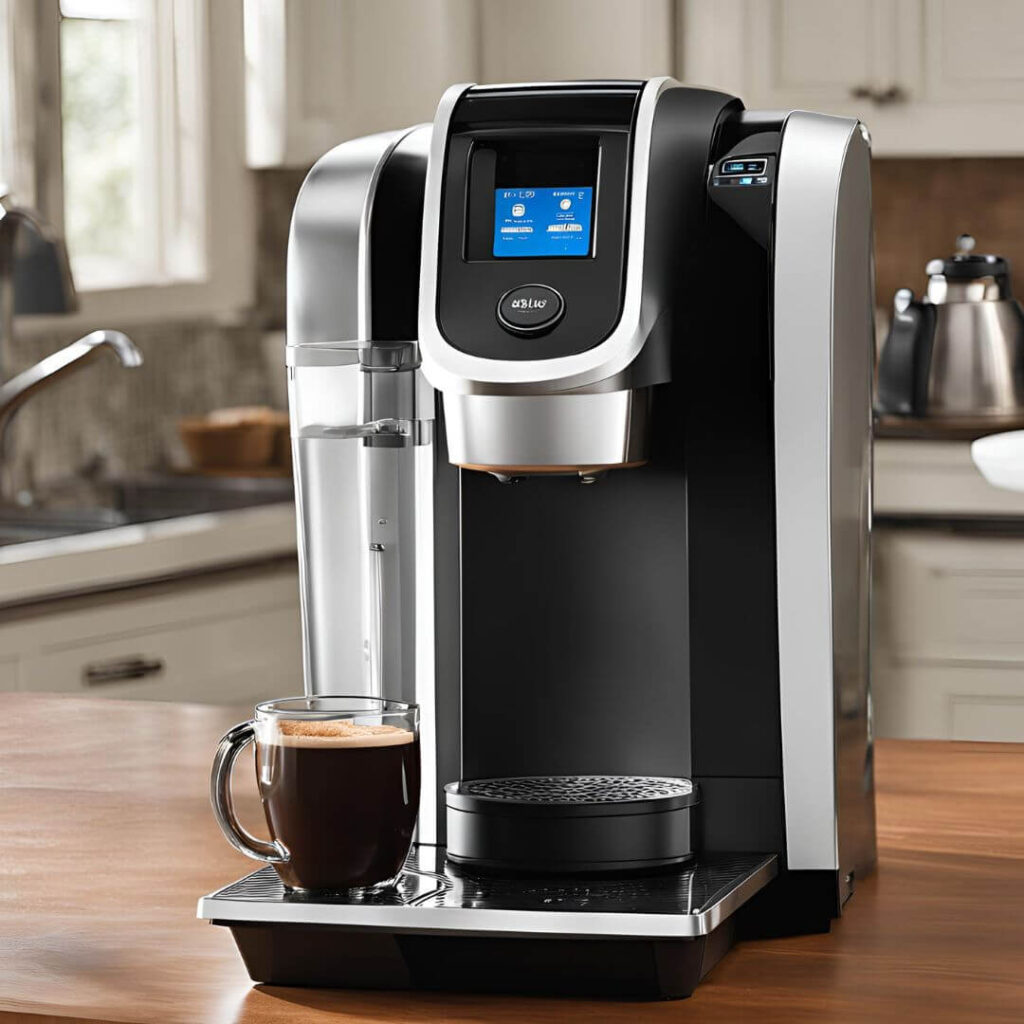
A Keurig coffee maker is a great invention that provides you with fresh coffee quickly. But when it stops working, the benefit disappears. Here are ten easy tips to help fix your Keurig and get it working again.
- Replace The Water:
Hard water can cause problems with your Keurig. Minerals in tap water build up inside the machine and stop it from working correctly. Use filtered or soft water to avoid this.
- Perform A Quick Rinse:
If using soft water doesn’t solve the problem, try running your Keurig without the K-Cup. Just use plain water and run it a few times. This can help clean out any mineral buildup and get it working again.
- Descale Regularly:
To keep your Keurig working well, it’s important to drain it regularly. An easy way to do this is to use a mixture of vinegar and water. Let it sit in the machine for 30 minutes, then rinse with clean water. But be careful – using vinegar may void your warranty. It is best to use a descaling solution made for Keurig.
- Remove Air Bubbles:
Sometimes, air bubbles get stuck in the Keurig and cause problems. To fix this, unplug the machine, fill the water tank and shake gently to remove bubbles.
- Allow Time To Warm Up:
Your Keurig may need a few minutes to warm up, especially the first time you use it each day. Let it heat up before brewing your coffee.
- Check The Power Connection:
This may sound basic, but make sure your Keurig is plugged in. This is an easy step to overlook, especially when you want to get your first cup of the day.
- Ensure A K-Cup Is Loaded:
If your Keurig only dispenses water, there may not be a pod inside. Check to make sure you put a K-Cup in the machine.
- Verify The Reservoir Is Properly Positioned:
The Keurig machine will only work if the water tank is in the correct place. If your machine isn’t built, check to make sure the tank is seated correctly.
- Power The Machine:
Here’s a simple step that people often forget: Make sure the power switch is turned on. If it’s off, no amount of troubleshooting Keurig coffee maker will help your coffee flow.
- Do A Deep Clean:
After a lot of use, your Keurig may need a deep clean. If it doesn’t deliver water or make a full cup, it’s time for a thorough cleaning. Check out guides and videos with step-by-step instructions to help you clean it properly.
Leaky Keurig? Here’s How To Stop the Drips: 3 Guides
If your Keurig is leaking, it can be frustrating, but there are steps you can take to stop the drip. Follow these three guidelines to locate and fix leaks in your machine.
Guide 1: Check The Water Reservoir
Start by visiting the reservoir. Ensure that you correctly seat the reservoir in the machine and check for any cracks or damage. Remove the reservoir, clean it, and check the seal for any leaks. Refill the reservoir and return it safely to the machine.
Guide 2: Examine The Drip Tray and K-Cup Holder
Drip trays and K-Cup holders can leak if you don’t clean them regularly or if you don’t align them properly. Remove and clean the drip tray and K-cup holder thoroughly, checking for cracks or damage. Then, put them back in the machine and see if the leak continues.
Guide 3: Inspect For Internal Leaks
If the leak continues, it may be due to an internal problem. For effective Keurig coffee maker troubleshooting, turn off and unplug your machine. Check internal components, including water lines and connections, for visible leaks or damage. If you find a problem or cannot find the source of the leak, contact Keurig Customer Support for further assistance
How To Resolve Keurig Error Codes Quickly: 3 Steps
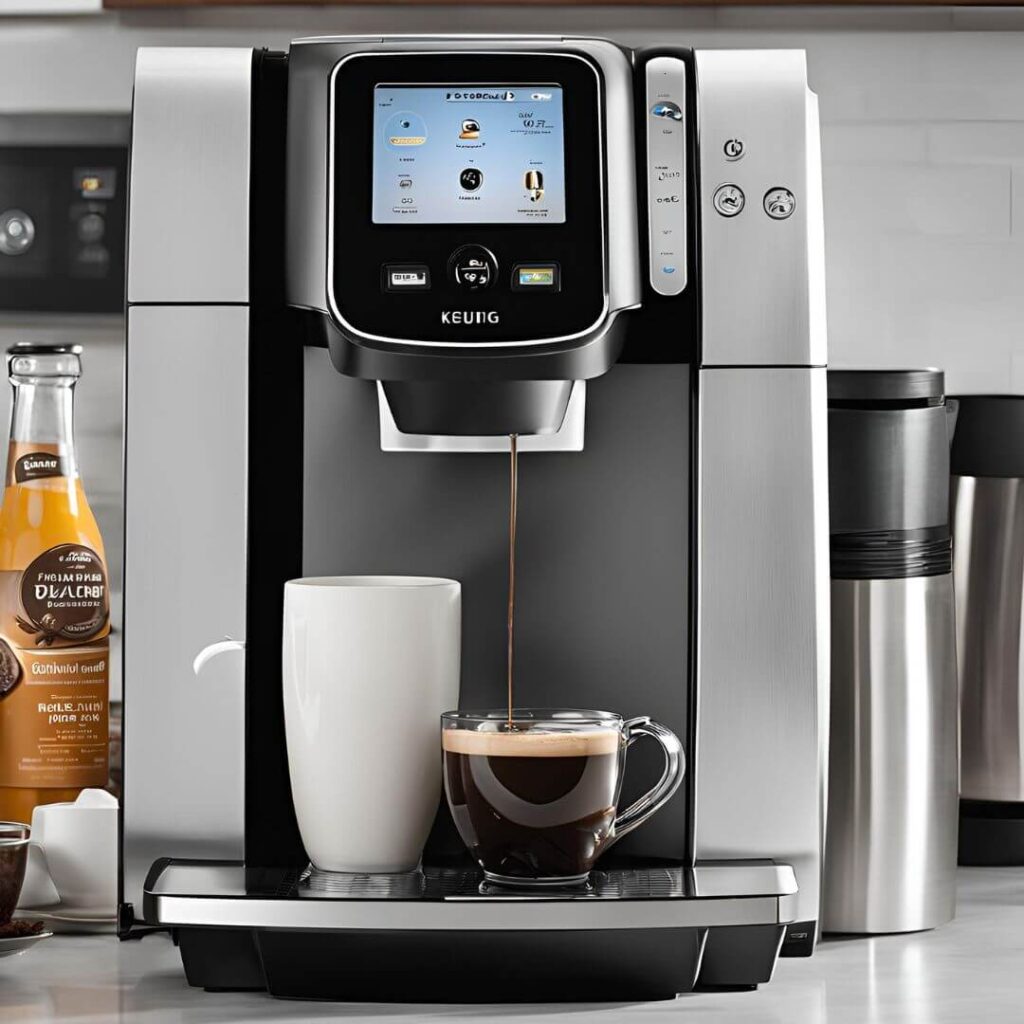
A question sometimes arises: how to reset a Keurig coffee maker if there is any code error? Don’t panic if you see error codes on your Keurig—they can be easy to fix. Follow these three steps to resolve standard Keurig error codes and rebuild your machine quickly.
Step 1: Identify The Error Code
To begin Keurig coffee maker troubleshooting, first, enter the error code displayed on your Keurig. Check the user’s manual or manufacturer’s website to find out what the code means. This will help you figure out the problem and decide what to do next.
Step 2: Perform A Basic Reset
Sometimes, resetting your Keurig can solve minor problems. Turn off and unplug the machine, wait about a minute, then plug it back in and turn it on. This simple reset can clear temporary problems and remove the error code.
Step 3: Follow Error-Specific Troubleshooting
If the error code persists after resetting, follow the Keurig coffee maker troubleshooting steps for that specific code. This may mean checking for things like a stuck needle, a problem with the water reservoir, or the need to shorten the machine. See the user manual or Keurig’s support resources for instructions on those error codes. If you still need help fixing it, contact Keurig customer support for more help.
How To Switch Off The Descale Light On Your Keurig?
To turn off the descale light on your Keurig, ensure you have finished descaling the machine. Fill the water reservoir with equal parts water and white vinegar and run several brew cycles without the K-Cup until the reservoir is empty.
Then, wash the machine by running a few cycles with just water. After this step the desktop light should turn off. If not, unplug your Keurig for a minute and then plug it back in.
Noisy Keurig? Here’s What You Can Do
For effective Keurig coffee maker troubleshooting, first check that your Keurig is on a flat and stable surface to avoid excessive noise. Make sure the water reservoir is in place and not making loud noises. If you hear noise while brewing, it could be mineral build-up. Clean the machine with a mixture of water and white vinegar to solve the problem.
Also, clean loose parts like the drip tray and K-cup holder. If the noise does not stop, it may be a mechanical problem, and you should contact Keurig customer support for assistance.
Related Questions:
Why Isn’t My Keurig Brewing Coffee?
If your Keurig doesn’t brew, start by checking that the reservoir is full and properly positioned. Make sure the machine is plugged in, and the K-cup holder is clean. Try unplugging the machine for a minute to reset it. Also, look for any blockages in the needle or water line.
Why Is The Descale Light Still On After Cleaning?
If the descale light is still on after you have cleaned the machine, make sure you have completed the descale process. This means running several cycles with a mixture of water and vinegar, then rinsing with clean water.
If the light is still on, try unplugging the Keurig for a minute and then plugging it back in. If it does not stop, you may need to contact Keurig Customer Support for assistance.
Conclusion:
Keurig coffee maker troubleshooting involves a few simple steps to fix common problems and keep it running smoothly. Check water levels, clean parts, and troubleshoot any error codes to resolve most issues. Regular maintenance and quick fixes can help your Keurig last longer. If the problem persists, don’t hesitate to contact Keurig customer support for assistance.

